The amount of moisture in the bread can make or break a loaf on our journey towards the perfect bite. The balance of moisture in bread is what you need to perfect and will make all the difference in the world.
To reach moist bread you need to make sure your bread is not over-proofed, be sure to hydrate it enough during the bake until it developed a thick crust, ingredients-wise it’s recommended to use whole grain flour, add special fruity ingredients to give your loaf more moisture and last let it cool down completely before slicing it.
So after this short introduction, how can you reach a moist, fluffy airy texture it your bread? follow these steps just don’t forget to thank us later.
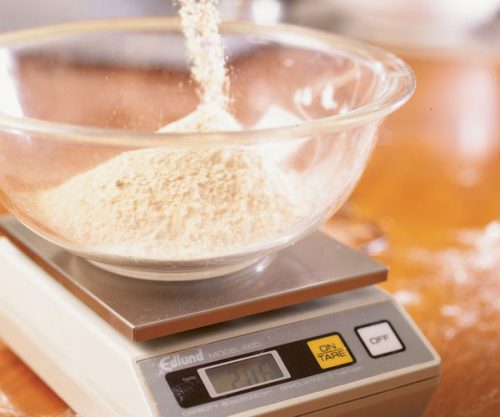
All ingredients are measured. We would like to recommend two things for this step:
This step concludes when all ingredients are accurately measured and lined up in order of use, as well as all tools and equipment are ready for the second step in the bread-making process.
Ingredients are combined into a smooth, uniform dough; the yeast and other ingredients are evenly distributed through the dough, the gluten is developed, and fermentation is initiated.
The dough is allowed to ferment. Fermentation is the process by which the yeast acts on the sugar and starches and produces carbon dioxide and alcohol.
The purpose of this step is to degas the dough, and we do that for four reasons: to expel some of the carbon dioxides, and avoid by that chocking the yeast; to allow the gluten to relax a bit; equalize the temperature of the dough, and to redistribute the nutrients necessary for the yeast’s continued growth.
The dough is divided or scaled into the desired individual portions.
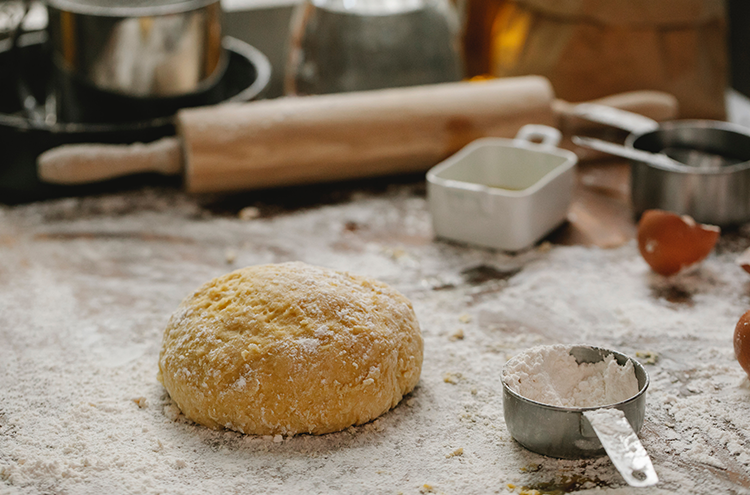
The portioned dough is loosely shaped into smooth, round balls. This organizes the dough into consistent pieces and makes the final shaping easier and more efficient. It also stretches the gluten on the outside of the dough and forms a skin that helps it retain the gases produced by the yeast.
The benching or resting lasts approximately 20 to 30 minutes and relaxes the gluten, making the final shaping of the dough easier.
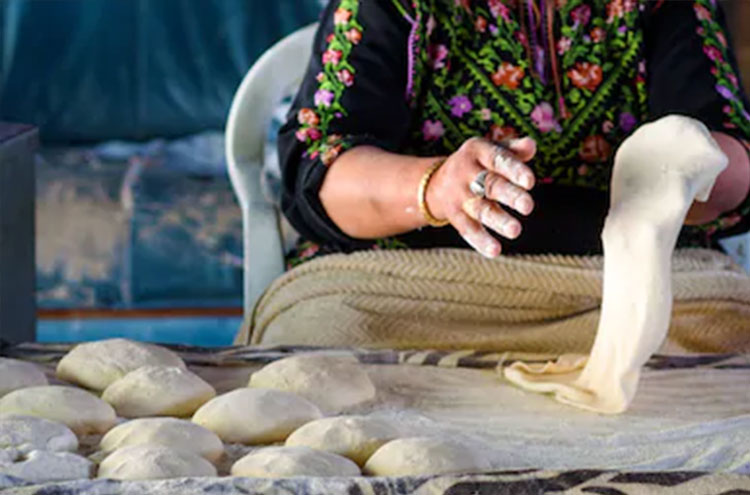
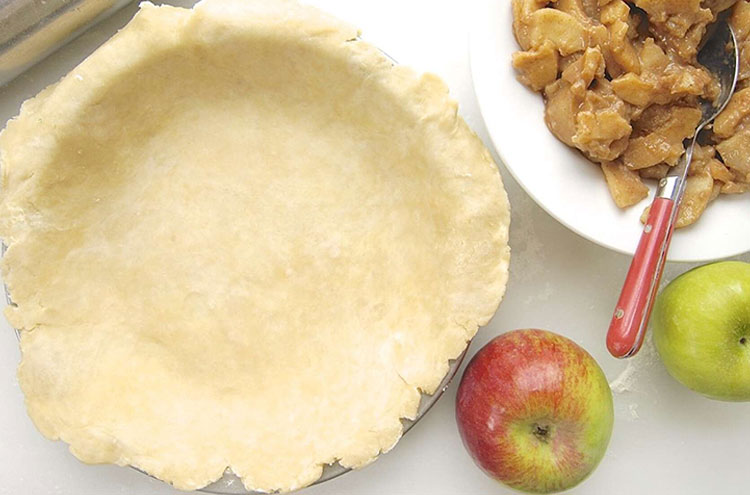
The dough is formed into its final shape and placed in the pan or mould that it will be baked in. Hearth bread that will be baked directly on the oven deck are placed in bannetons or between the folds of the baker’s linen.
The dough goes through one final fermentation. The dough should be placed in a temperature and humidity controlled environment to allow the bread to rise to the desired volume before baking. The optimum rise for this stage is 80 to 85 per cent of the dough’s overall volume.
The dough is baked. The dough is often scored with a sharp knife prior to baking. This allows the bread to expand without bursting.
Some of the important changes that occur during the baking process are:
The loaves are cooled on racks that allow the air to circulate around them and prevent the crusts from becoming soggy. The bread should be cooled at least two hours to allow the crumb structure to stabilize and develop full flavour.
Baked breads will stale most quickly at temperatures between 32°F and 50°F (0°C and 10°C) and therefore should never be placed in the refrigerator.
The amount of moisture in the bread can make or break a loaf on our journey towards the perfect bite. The balance of moisture in bread is what you need to perfect and will make all the difference in the world.
To reach moist bread you need to make sure your bread is not over-proofed, be sure to hydrate it enough during the bake until it developed a thick crust, ingredients-wise it’s recommended to use whole grain flour, add special fruity ingredients to give your loaf more moisture and last let it cool down completely before slicing it.
So after this short introduction, how can you reach a moist, fluffy airy texture it your bread? follow these steps just don’t forget to thank us later.
All ingredients are measured. We would like to recommend two things for this step:
This step concludes when all ingredients are accurately measured and lined up in order of use, as well as all tools and equipment are ready for the second step in the bread-making process.
Ingredients are combined into a smooth, uniform dough; the yeast and other ingredients are evenly distributed through the dough, the gluten is developed, and fermentation is initiated.
The dough is allowed to ferment. Fermentation is the process by which the yeast acts on the sugar and starches and produces carbon dioxide and alcohol.
The purpose of this step is to degas the dough, and we do that for four reasons: to expel some of the carbon dioxides, and avoid by that chocking the yeast; to allow the gluten to relax a bit; equalize the temperature of the dough, and to redistribute the nutrients necessary for the yeast’s continued growth.
The dough is divided or scaled into the desired individual portions.
The portioned dough is loosely shaped into smooth, round balls. This organizes the dough into consistent pieces and makes the final shaping easier and more efficient. It also stretches the gluten on the outside of the dough and forms a skin that helps it retain the gases produced by the yeast.
The benching or resting lasts approximately 20 to 30 minutes and relaxes the gluten, making the final shaping of the dough easier.
The dough is formed into its final shape and placed in the pan or mould that it will be baked in. Hearth bread that will be baked directly on the oven deck are placed in bannetons or between the folds of the baker’s linen.
The dough goes through one final fermentation. The dough should be placed in a temperature and humidity controlled environment to allow the bread to rise to the desired volume before baking. The optimum rise for this stage is 80 to 85 per cent of the dough’s overall volume.
The dough is baked. The dough is often scored with a sharp knife prior to baking. This allows the bread to expand without bursting.
Some of the important changes that occur during the baking process are:
The loaves are cooled on racks that allow the air to circulate around them and prevent the crusts from becoming soggy. The bread should be cooled at least two hours to allow the crumb structure to stabilize and develop full flavour.
Baked breads will stale most quickly at temperatures between 32°F and 50°F (0°C and 10°C) and therefore should never be placed in the refrigerator.